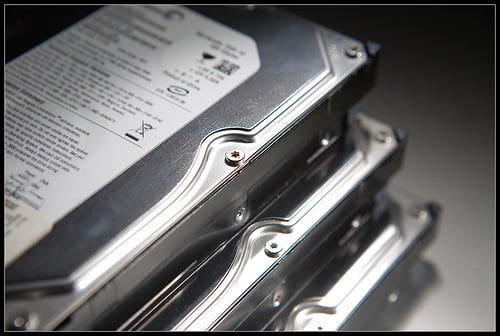
Installing Centos 6.x onto a dedicated server with hard drives bigger than 2tb (3tb, 4tb, 6tb, 8tb, or bigger)

Photo by kennymatic 
I’m a big fan of Centos, but like anything, it’s not perfect. In Centos 5, it is nearly impossible to get a working install onto drives larger than 2tb. In Centos 6, it is possible, but not entirely straightforward. The reason for the difficulty, is that MBR (master boot record) was designed only to support up to 2TB drives. In order to go above that, a new technology, GPT (GUID Partition Table) was developed, which currently supports a maximum size of over 9 billion terabytes (this should be enough for a while yet). Although GPT has been out for a while, support for this varies among operating systems, with Centos 5 having very little support for it, and Centos 6 supporting it, but not having appropriate tools in the installer to use it.
This article will help you with the process of installing Centos 6 onto a boot drive that’s larger than 2TB. These instructions assume you have a clean system (i.e. all data will be lost), and assume you want to install a fresh copy of Centos 6.x onto drives larger than 2tb, such as 3tb, 4tb, 6tb, or even 8tb hard drives (if you have one of those, lucky you!). This guide is not necessary for installing Centos onto multiple smaller drives in a software raid, although it is necessary if you have a >2TB partition size on the primary OS partition on a hardware raid.
Without further ado, the instructions:
Installing Centos 6.x onto drives larger than 2TB:
First of all, start the Centos installer, and wait until you get to a point where it asks you questions. At this point, you want to drop to a command shell. Do so with the following key combinations:
ctrl+alt+F2
This will drop you to a command prompt. You can now clear the partitions on the existing drive(s) and also change the partition table to GPT instead of MSDOS with a single command:
/usr/sbin/parted -s /dev/sdb mklabel gpt
Make sure to run the above with “/dev/sdb” replaced with the identifier for the drive(s) you’d like to install your OS onto. In many cases, the Centos installer will start your first hard drive as “/dev/sdb”, so I’ve made that the command above.
Repeat the above command for each drive you plan to install onto (/dev/sdb, /dev/sdc, etc)
Return to the installer. Either type the following command:
exit
OR type the following key combination:
ctrl+alt+F6
One of the two above should bring you back to the installer.
Continue with the installation as normal until you reach the partitioning choices.
Once you reach the partitioning options, select the “use empty space” option and the installer will create new partitions within the new GPT partition table you’ve created.
Note: If you choose the “delete everything” option, the installer will replace the GPT with MBR again, defeating the entire purpose of what you’ve been working on.
That’s it. You can now create the necessary partitions and file systems as you normally would when installing Centos.
If you have any questions about this information, or want to learn about ioflood.com Centos dedicated servers, email us at sales [at] ioflood.com

