How to Install DirectAdmin

With the recent cPanel price increases, many web hosting providers are considering alternative control panels for the management of their websites. In terms of alternative control panels, as we have previously discussed in our DirectAdmin v. cPanel post, DirectAdmin is a formidable competitor.
With that in mind, we thought it would be a good idea to look at the installation side of the DirectAdmin control panel.
As with most user guides, there is going to be a level of assumed knowledge in here, primarily being that you know how to install and update your own Operating System. I strongly recommend that before installing your Operating System, you check out the DirectAdmin Installation Requirements located here:
Once your Operating System is installed and updated, we can start by ordering a licence!
I actually found it incredibly easy to order a licence through DirectAdmin. You log into DirectAdmin’s website:
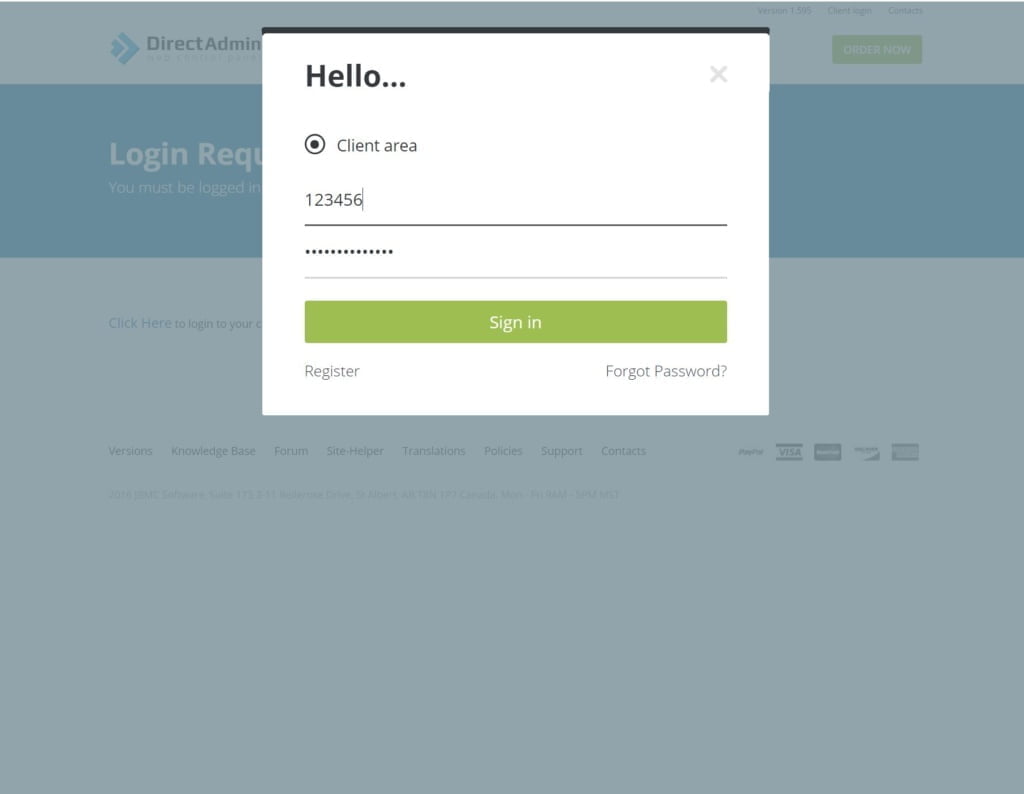
Click “buy license”

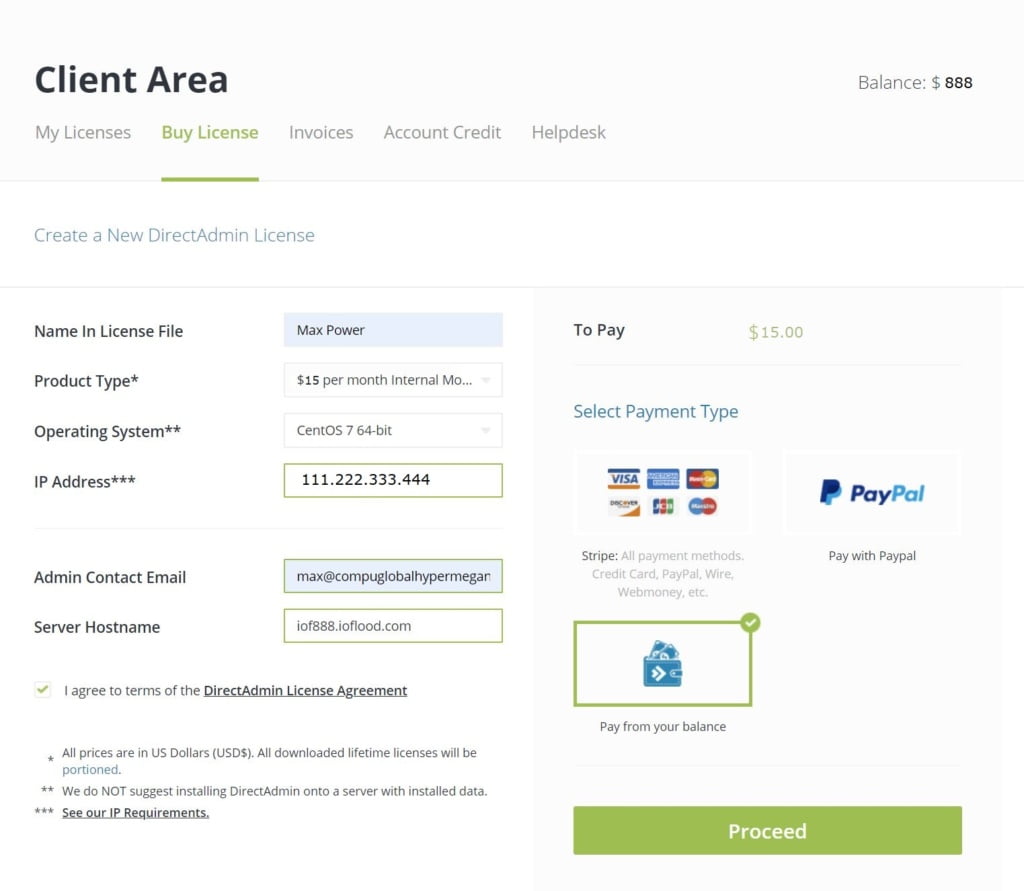
Make sure that when you’re ordering your licence you enter all the relevant information for your setup.
- Customer Name
- Licence Type
- Operating System
- IP Address
- Contact Email Address
- Server Hostname
Don’t forget to agree to the terms of service or your order won’t proceed!
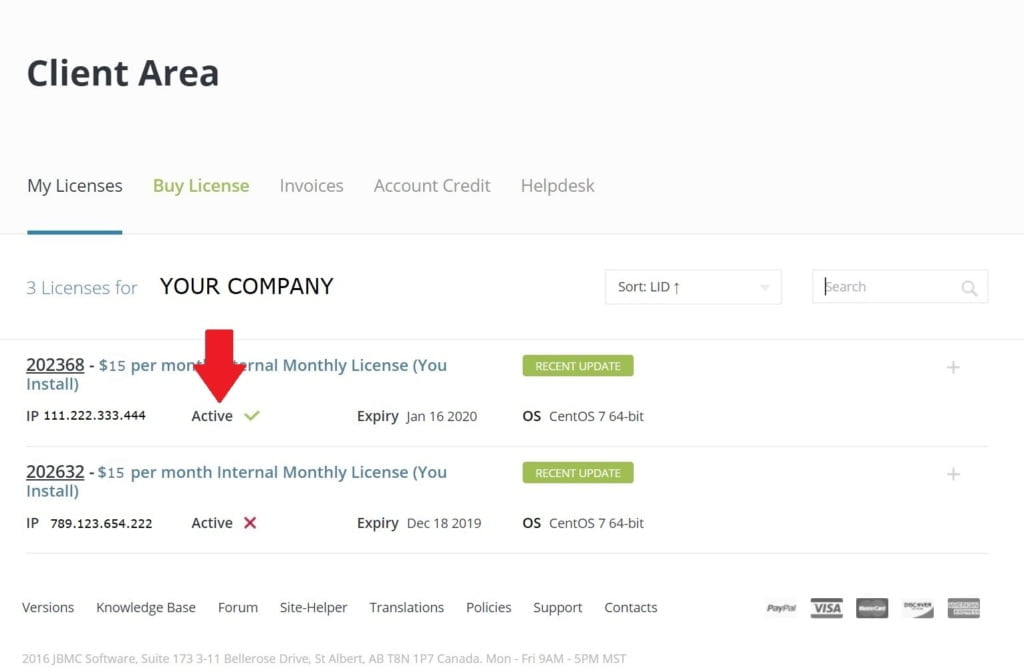
Once your licence has been purchased, make sure you go back to your list of licences and confirm that the licence you have just purchased is active. If it isn’t active, it hasn’t processed yet.
Once you’ve confirmed that your licence is active and ready to go, you can start installing! It really was very straight forward, and the step by step online copy of the installation instructions on the DirectAdmin website is incredibly helpful! You can find that installation guide located here:
Before beginning the installation, you NEED to make sure you are logged in as the ROOT user. Not a subuser who is SU’ed up, but as the actual ROOT user for the server!
Open your screen session and login to your server.
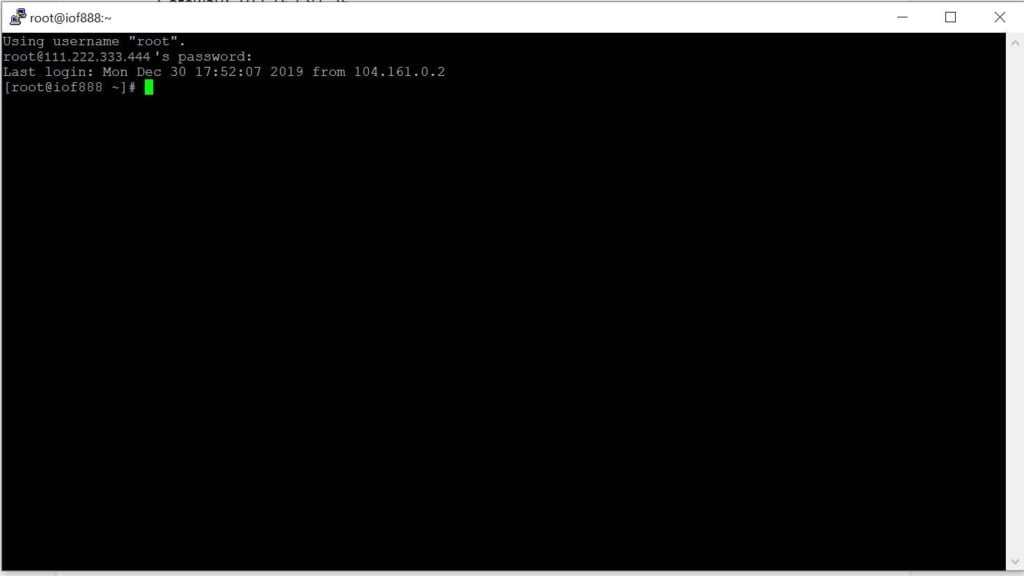
Once you’ve logged in as the ROOT user, there are only a few simple steps to follow for a VPS installation!
- Install DirectAdmin required packages for your OS, located here
- wget https://www.directadmin.com/setup.sh
- chmod 755 setup.sh
- ./setup.sh
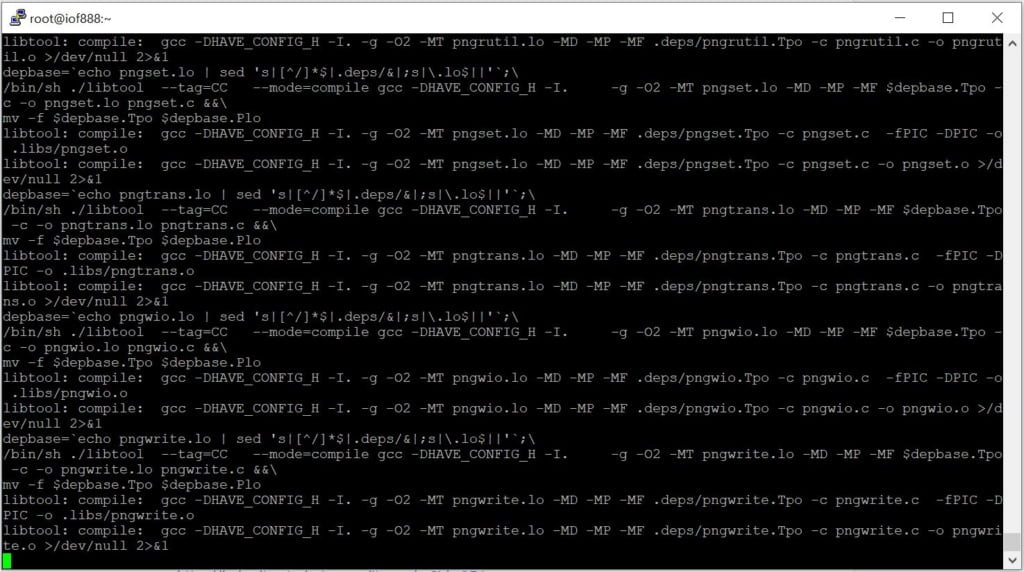
This is where you go get a coffee and kick back for a bit!

And watch the installer do its thing…
NOTE:
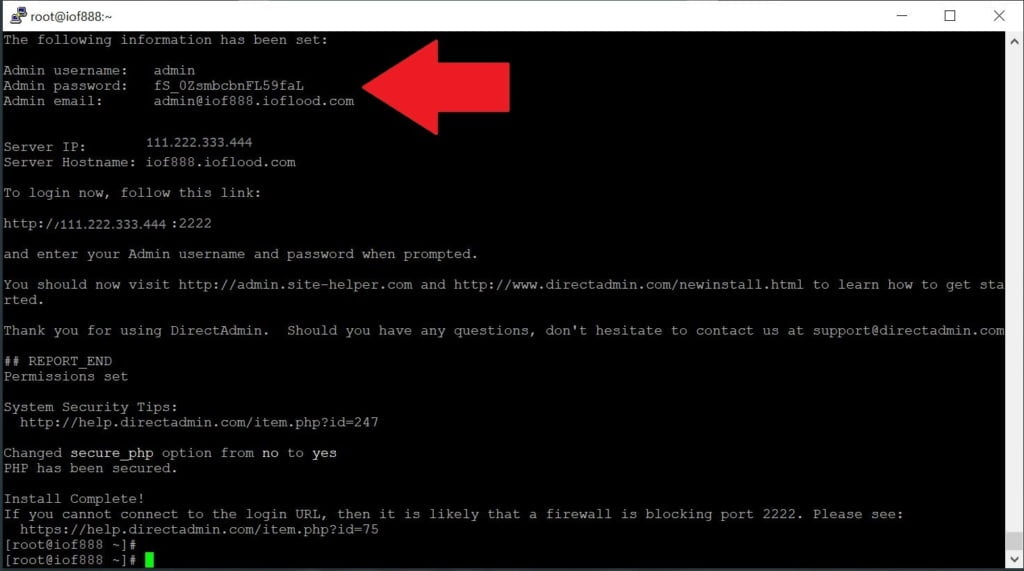
Once the installation is complete, make sure you copy the DirectAdmin username and password details at the end of the install, it is NOT just the root login for the server and these details are difficult to retrieve after the fact!
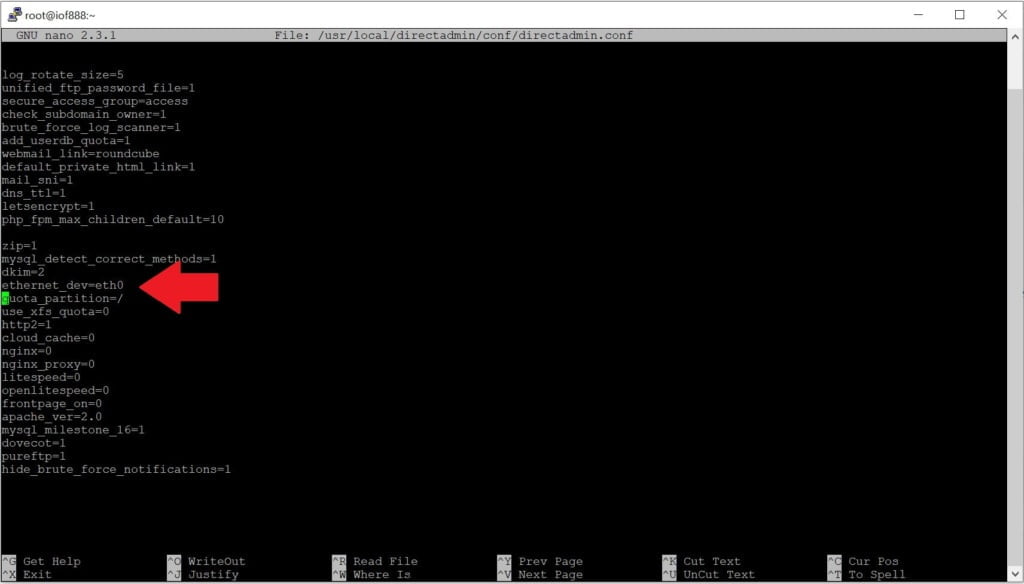
When installing a DirectAdmin VPS licence, the installation guide indicates that you should make sure you add your ethernet_dev details to the /usr/local/directadmin/conf/directadmin.conf file.
Before adding it, I strongly recommend that you scroll through the file and see if it’s already there. In this instance, I found it was already added right down near the bottom.
Now that it’s been installed, we need to verify that the installation of DirectAdmin is working as it should.
At the end of the installation, it gives you the exact URL to go to, but if you missed it it’s just your primary server IP accessed via port 2222.
To verify our installation we just go to http://[server IP]:2222. In this instance, we go to http://111.222.333.444:2222
The screen you get should look something like this:
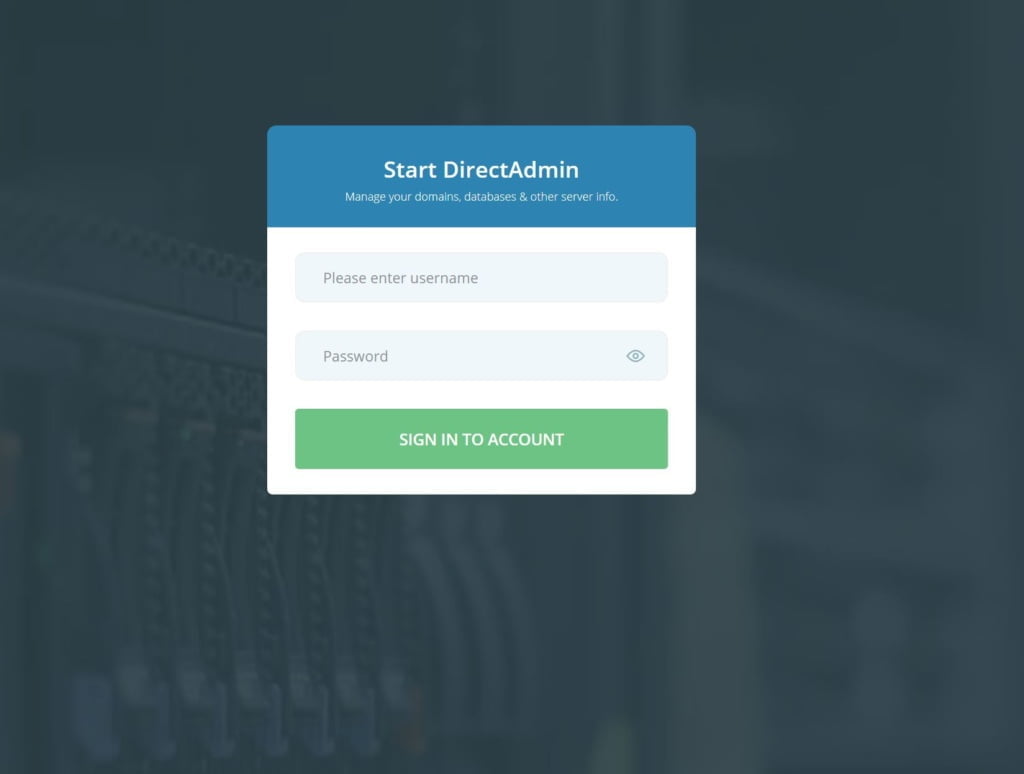
This is where you log in using the username and password that you retrieved from the installer earlier. Once you’ve logged in successfully, you’ll be taken directly to the main Control Panel, which should look like this.
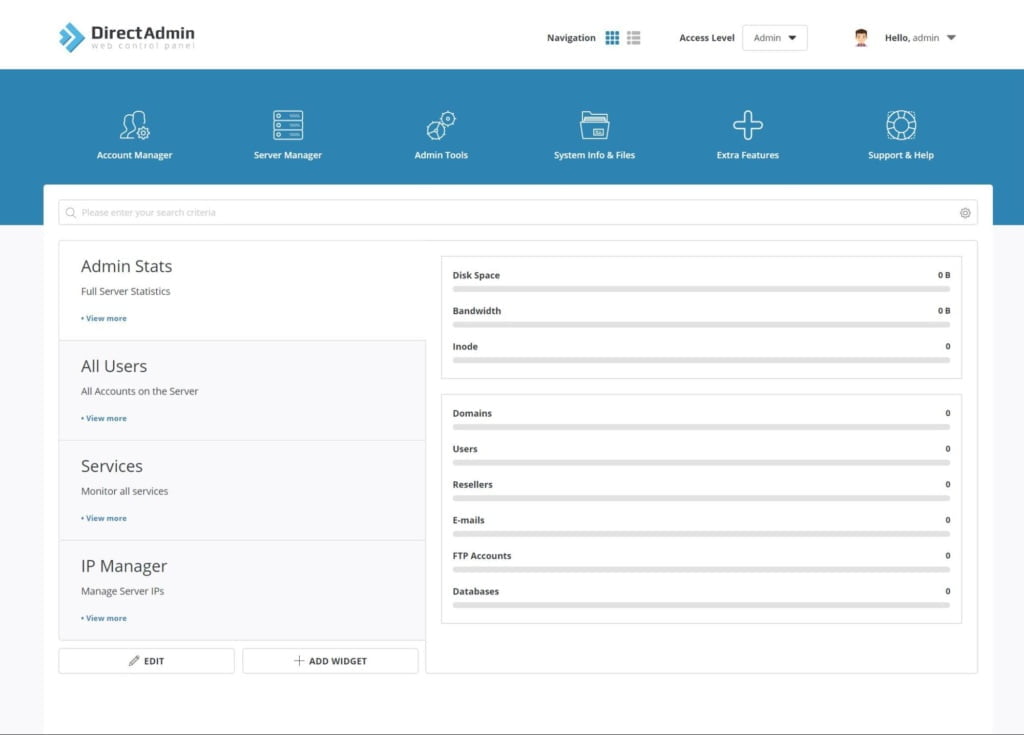
So as you can see, installation of a DirectAdmin licence is incredibly easy!
Make sure you stay tuned for future posts about customizing DirectAdmin.


