How To: Set up autopay in Ubersmith!

Welcome to another of our ‘How To’ customer guides!
For this post we’re going to walk you through another of the most common questions we get asked in the billing department.
How can I set up autopay on my service?
We know that our customers are busy running their businesses and have better things to do than to worry about simple billing matters. Having a credit card on file with autopay enabled simplifies the management of your account and allows your invoices to be paid on the day they are due and helps to mitigate the risk of overdue invoices or service suspensions for non payment.
The best part is, just like adding a credit card to your account, it only takes a few minutes to do following these simple step by step instructions!
If you haven’t already read it, make sure you read our post which explains how to add your credit card to your account.
How to add a credit card to Ubersmith!
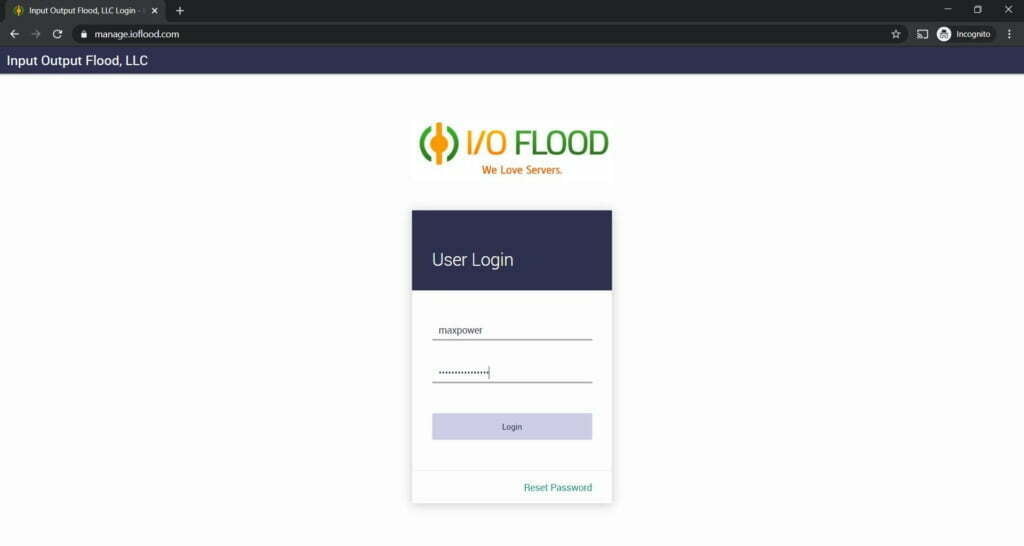
First of all, you will need to go to the IOFlood account management portal and log into your IOFlood account by putting in your username and password, just like our friend Max here did.
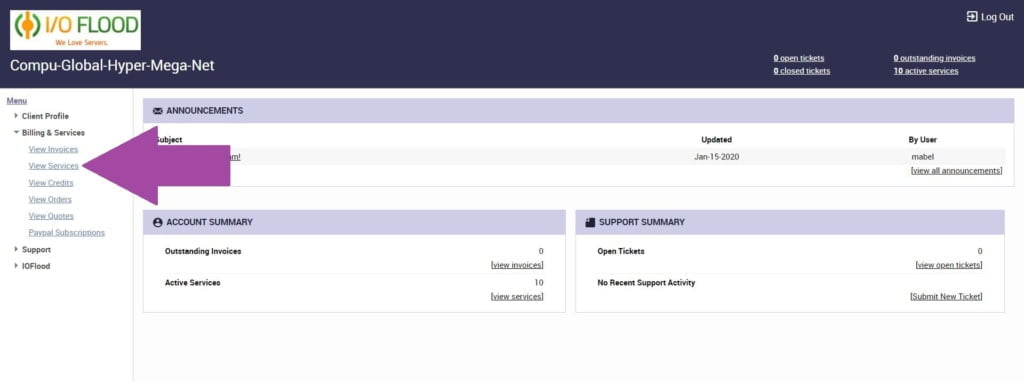
Once you’ve logged in, you need to navigate to the menu on the left side of the page and under ‘Client Profile’ you need to select ‘View Services’
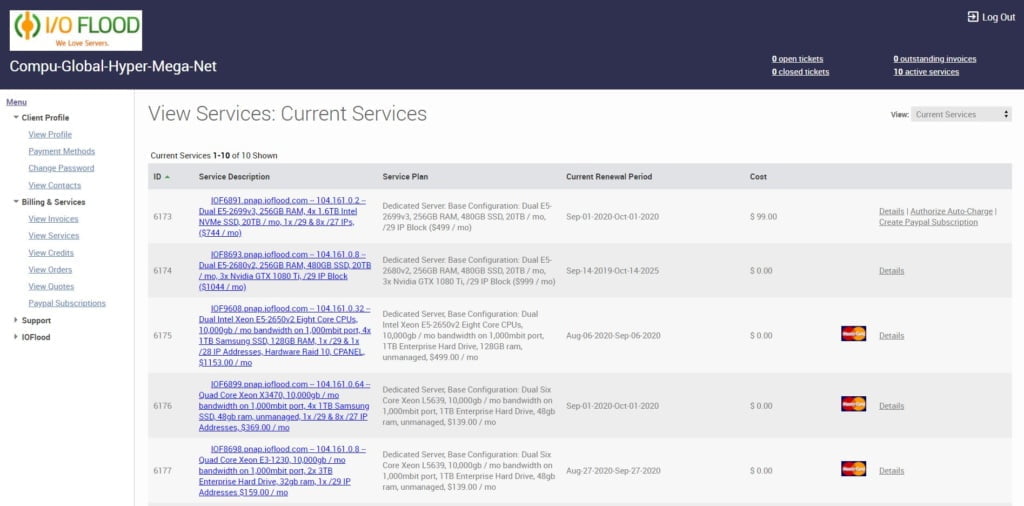
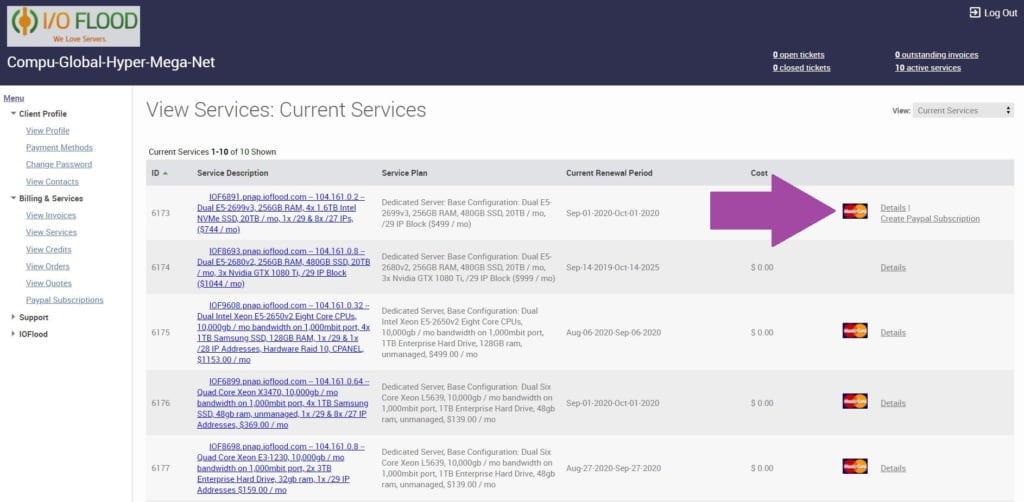
Which will bring you to a list of all of your current active services, and should look something like this:
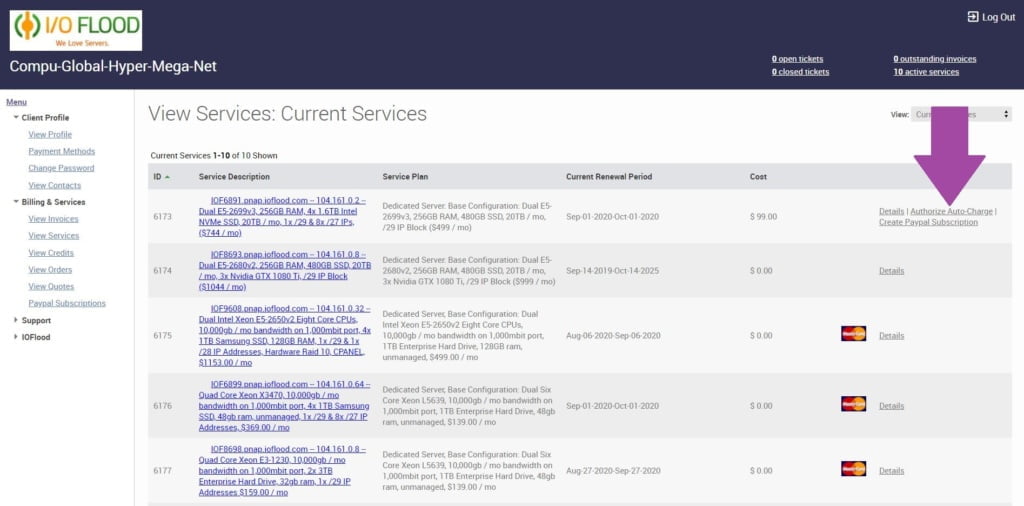
To enable autopay you need to click the link to the far right of the service item that says “Authorize Auto Charge”
Which will open up a popup window for you that looks like this:
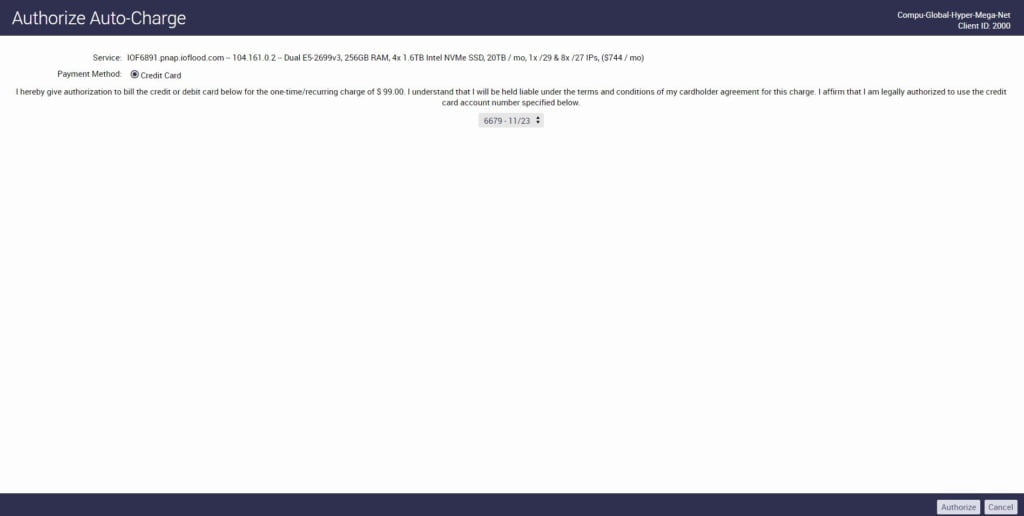
Make sure you have the right credit card details there and click “Authorize” on the bottom right of the popup window.
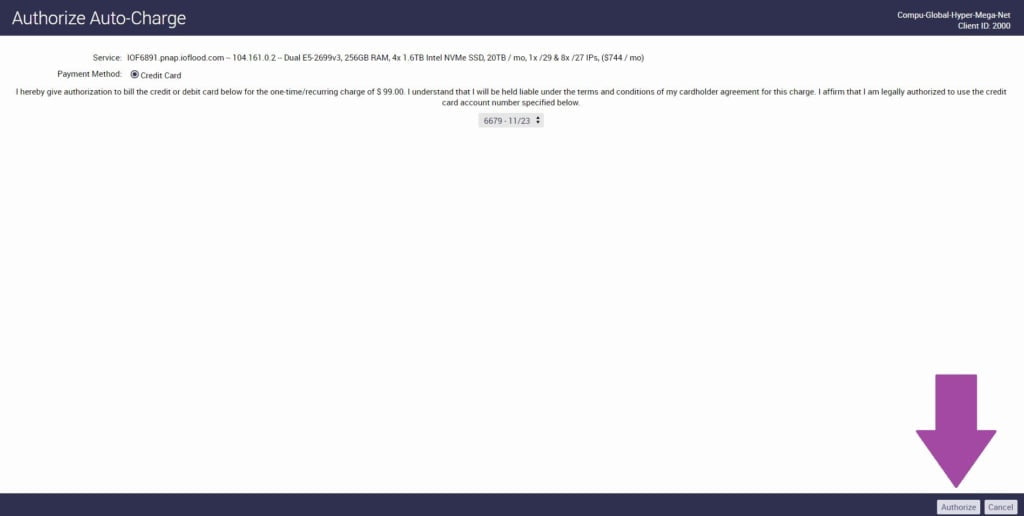
Once this is done, the popup window will disappear and return you to your list of active service items. You’ll now see a cute little credit card icon next to the service item in question which indicates that autopay has been enabled for that service.
So there you go! While you will still receive email invoices for the service, you can sit back and relax knowing that the billing system is doing all the hard work for you!
So, what happens if you want to set up automatic payments but you don’t have a credit card you can use? Make sure you check out our next ‘how to guide’:
“How to set up a Paypal Subscription.”


