Ubersmith: How To – Add a PayPal Billing Agreement.
How do I add a Paypal Billing Agreement in Ubersmith?
- Log into Ubersmith Account Management Portal
- Select ‘Client Profile’ from the menu on the left.
- Select ‘Payment Methods’
- Select ‘Add PayPal Billing Agreement’ on the right.
- Enter PayPal Login details.
- Confirm correct details in ‘Pay With’ section.
- Click ‘Accept and Continue’
- Confirm Billing Agreement details in Ubersmith.

Welcome to another of our ‘How To’ customer guides!
For this post we’re going to walk you through another of the most common questions we get asked in the billing department.
How can I set up a Paypal Billing Agreement for my account?
We know that our customers are busy running their businesses and have better things to do than to worry about simple billing matters, and not everyone has access to a credit card or is comfortable with the idea of storing credit card information on a website.
Establishing a Paypal Billing Agreement is a great way to automate your payments without storing a credit card on your Ubersmith Account Management Portal.
It is important to note that a PayPal Billing Agreement is not the same as a PayPal Subscription. Where a PayPal subscription is set for a specific amount to be paid on the same day each month, a PayPal Billing Agreement will automatically pay each invoice on your account on the day it’s due without you having to worry about it. If you want to read more about the difference between a PayPal Subscription and a PayPal Billing Agreement you can read our informative post here.
The best part is, it only takes a few minutes to do following these simple step by step instructions!
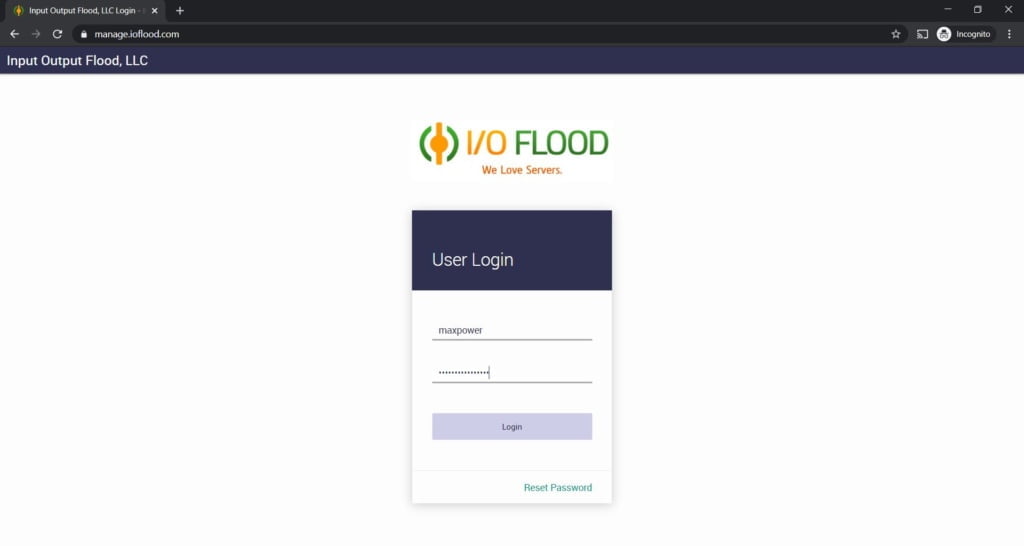
First of all, you will need to go to the IOFlood account management portal and log into your IOFlood account by putting in your username and password, just like our friend Max here did.
To login to our billing portal, you’ll need the username and password that was emailed to you when you first signed up. Your username is your Client ID.
If you don’t remember your password, please contact our support desk and we can have our system send a password reset to the email address on file for your account.

Once you’ve logged into your account, it will immediately take you to the General Overview area. At this point, you need to select “Client Profile” from the menu on the left, which will drop a new menu for you to choose from, as you can see in this screenshot:

This takes you to ‘Payment Methods’ screen. From here you just need to click on ‘Add PayPal Billing Agreement’ which you can find on the right of the screen, in the top of the blue/grey box, as you can see in this screenshot.

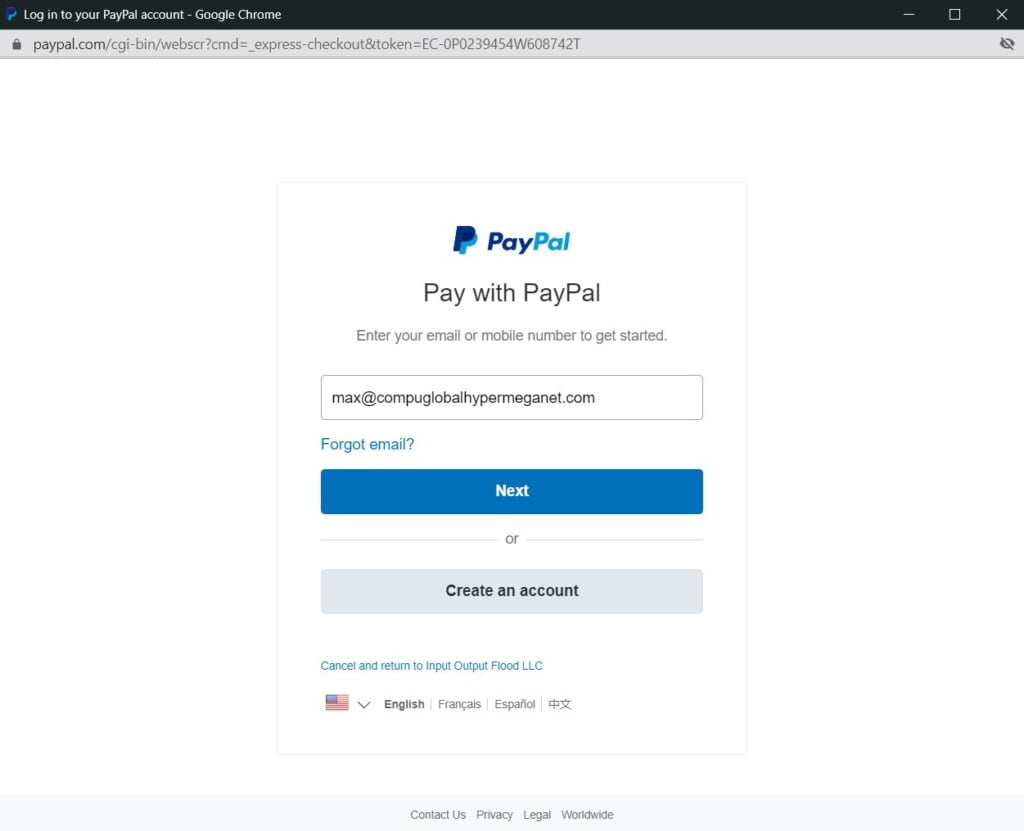
Clicking on ‘Add Paypal Billing ‘Agreement’ will open a popup window directing you to enter your Paypal login details.

Once you’ve logged in to Paypal, It will come up with a review screen. There are a few things that you need to take note of here. On this screen it is important to make sure that your payment method is correct. If your payment method in this screen is not correct then you run the risk of your payments not being processed correctly.

Once you have confirmed that this is correct, just click on ‘Accept and Continue’.
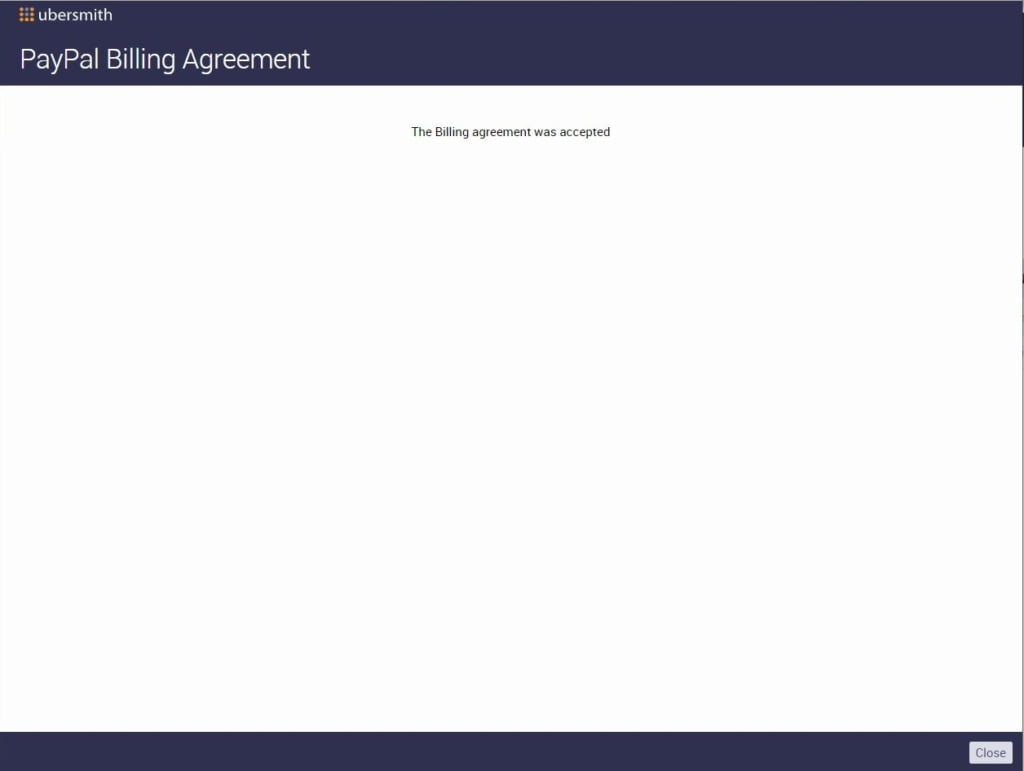
The next screen that appears is a confirmation that your Paypal Billing Agreement has been accepted, as you can see below.

Once you close this window, you return to the main ‘Payment Methods’ screen. Here you can see that under ‘Billing Agreements’ you now have a nice shiny new Paypal Billing Agreement set up, ready to take care of all your invoices as they come due.

If you want to view the details of the Paypal Billing Agreement, you can at any time, simply by clicking on ‘view’.

This brings up the details of the agreement in a popup window.

If you decide you don’t want to continue using the Paypal Billing Agreement, it’s just as easy to remove it, simply by clicking ‘delete’ next to the billing agreement in question and following the prompts.

So, there you have it! A quick walk through of how to add a Paypal Billing Agreement in Ubersmith.
I hope you’ve enjoyed this most recent addition to our ‘how to’ guides for Ubersmith, all designed to help make managing your business easier.
Please make sure you check back on our blog regularly as we will be doing more of these ‘how to’ posts to help our customers navigate through their customer portals.


